The Scalextric Pro Chassis Ready (PCR) allows racers to install and run performance parts from Slot.it. Slot racers can quickly and easily install a variety of new motors as well as uprated gears and wheels to create the ultimate Scalextric car.
We have assembled the PCR chassis to fit the Scalextric Ford Sierra using a selection of Slot.it parts. You could use different parts to what we have chosen, that's the beauty of the PCR chassis, the possibilities are endless.
We have used the following parts.
1x C3738 Ford Sierra Texaco
1x C8546 Scalextric Ford Sierra PCR Chassis
2x PCS-32151308s Alloy wheels
1x SIPI10 10z pinions
1x SIGO27b 27z Offset gear
1x SICH114 0.5mm offset Inline motor mount
1x SIMN09ch Flat 6 20k motor
1x SIPA01-45mm axles
1x SICH85 Screw in Guide
1x SICH54 Screws
1x PCS-RT03-F22 18x10 slick tyres

With the body removed, we reveal a nice simple chassis layout along with the newly designed wheels which allow for a range of aftermarket tyres to be fit, unlike older Scalextric models. You can now use tyres from Slot.it, NSR, Sloting Plus, Scaleauto etc.
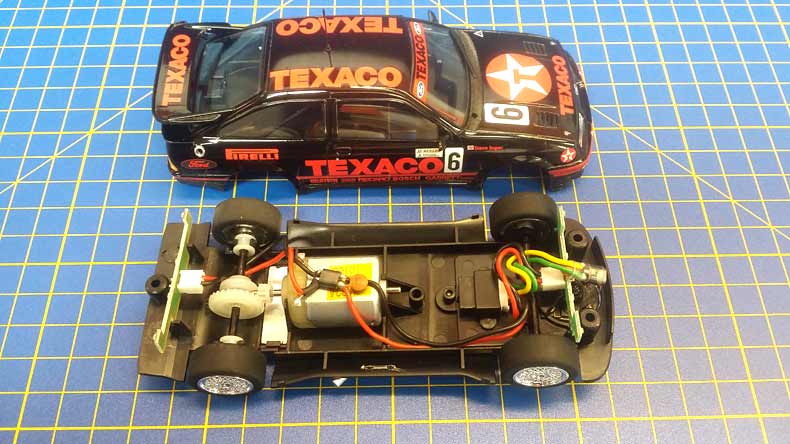
The body shell is reasonably light for a Scalextric car weighting in at 24.2g compared to the Polo which weighed a huge 40g +. This is a huge improvement. The total weight of the car comes to 72g.

Because we have used the SICH49 motor mount which comes complete with bearings, motor fixing screws and adaptor for fitting either a long can or Flat 6 motor. We have to do a slight modification to get it to fit the chassis, as you will see later on.
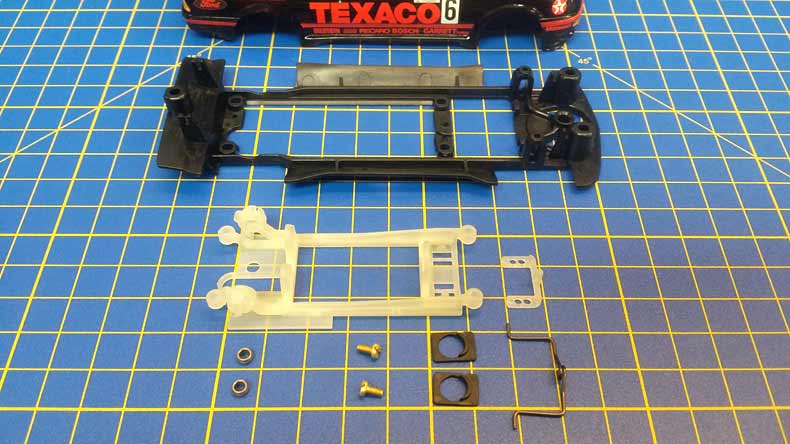
We have opted for the Flat 6 20K motor as it gives a lower centre of gravity and is a nice smooth motor which works well in this type of car.
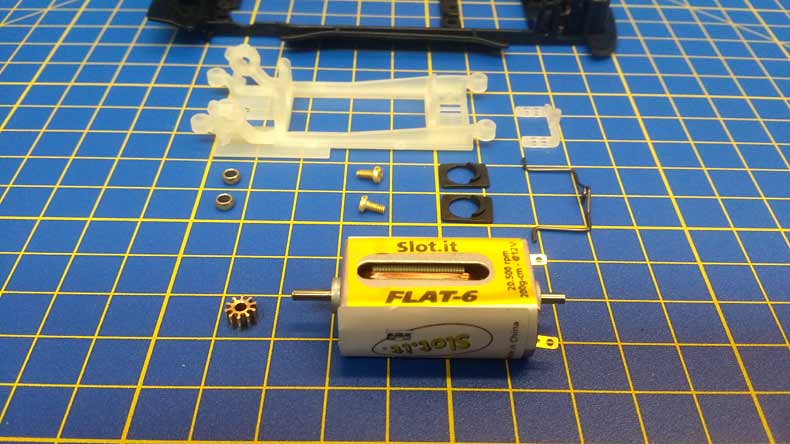
We fit the SIPI10 10z 5.5mm inline pinion to the motor using the Ninco Gear pusher puller tool 80201. Make sure not to push the pinion on to far or you won’t be able to remover it if you need to in the future.

Before fitting the motor in the mount, you need to fit the adaptor to the front of the motor ensuring you have it the correct way up for the type of motor you are using. Because we are using the Flat 6 motor we need the Half moon shape at the top which brings the motor in line, with the bottom side of the motor mount.

In this photo you can see I have fitted the torsion bar along with the U shaped piece of plastic. The torsion bar is optional and doesn’t really make any difference to performance, but the Plastic clip needs to be inserted in the motor mount before the motor screws are fitted.
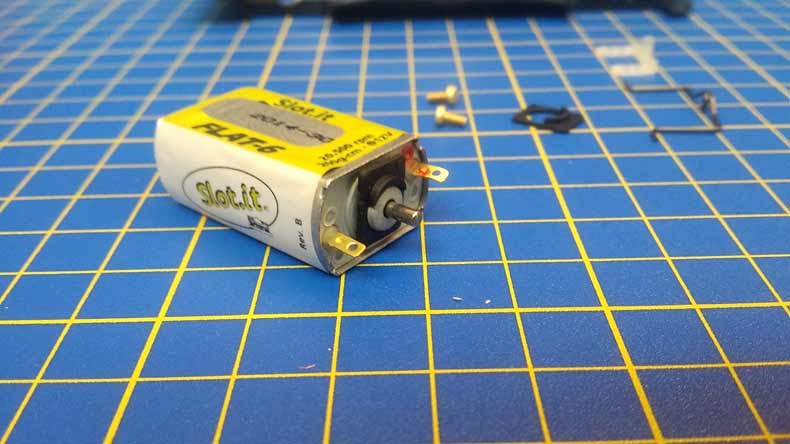
As mentioned previously, we have to modify the motor mount to get it to fit the chassis. It is required to remove the infill section using a sharp knife to allow fitment into the chassis.
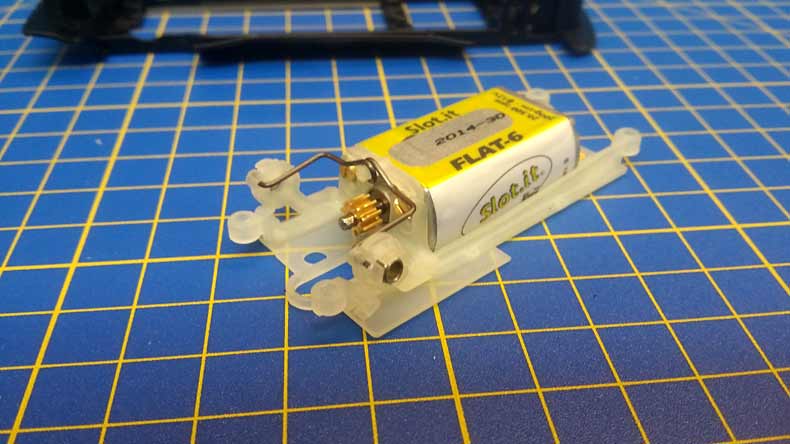
Once removed you can tidy it up using some sandpaper or a small nail file.

The Motor mount is all ready for fitting.

Check that the mount fits nicely and that it doesn’t catch or interfere with the chassis.
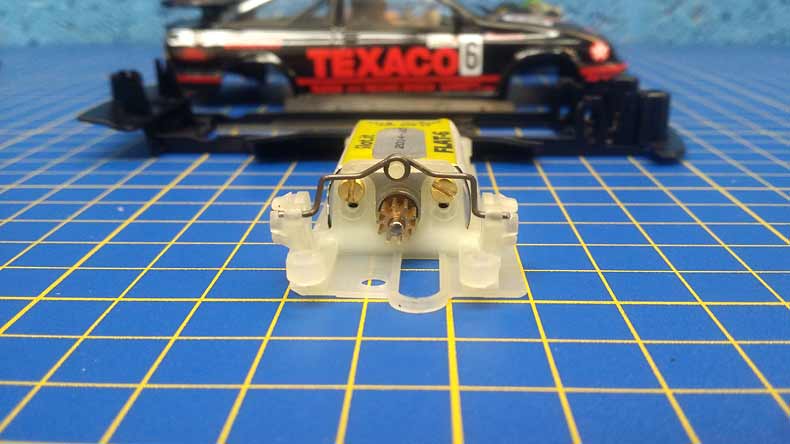
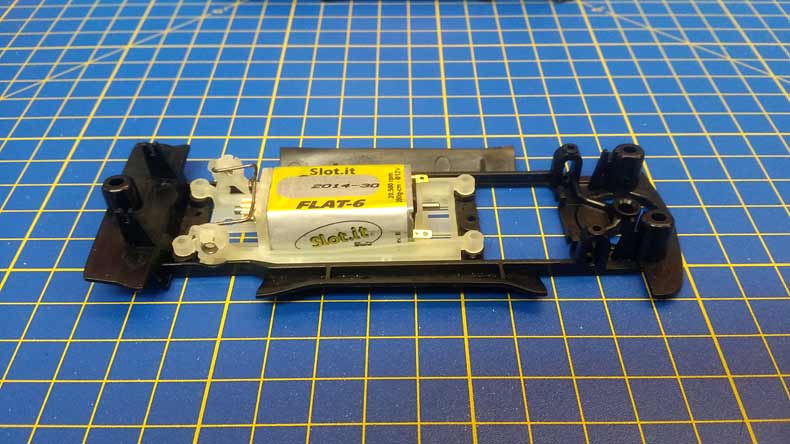


Motor mount fitted into the chassis and axles are also fitted along with the PCS-32101 BBS Wheels and Slot It E1 tyres.
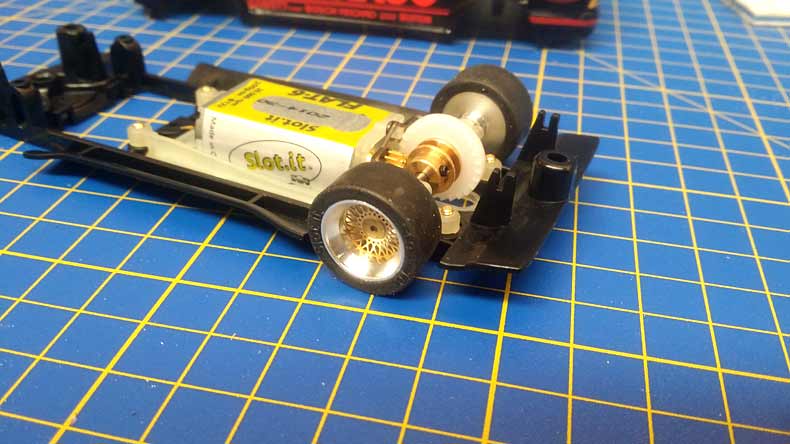
The PCS BBS Wheels suit the Sierra nicely.

PCS-32101 BBS wheels come in kit form but are very easy to build up.
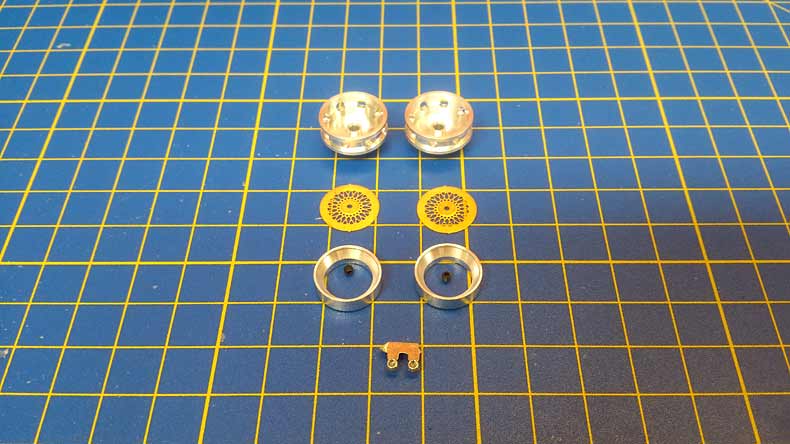
Put the gold inserts into the main part of the hub.

Then insert the chrome collar. You may need to put the wheel face down and lightly tap down on the hub to insure the collar is fully fitted into the wheel holding the insert in place. The two centre nuts can then be glued in place in the gold insert.
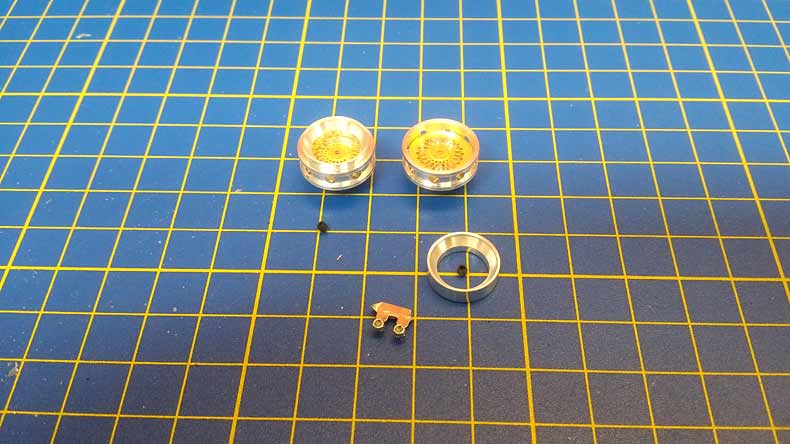
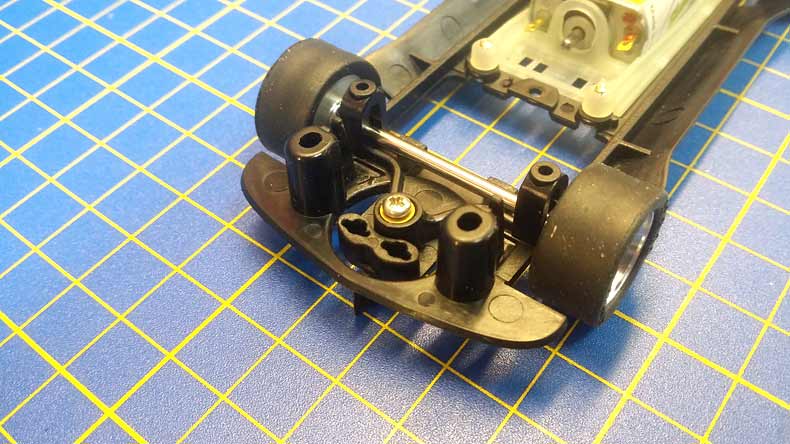
Front wheels and axle now in place.
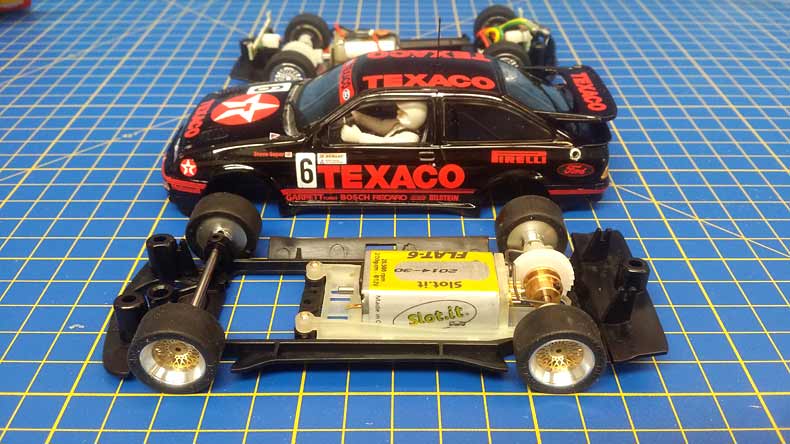
Next we ned to fit the SICH85 guide which is ideal for Plastic tracks with a shallow slot. For Wood tracks either the SICH07 wood track guide can be used or The Scaleauto SC-1607 guides are great also.
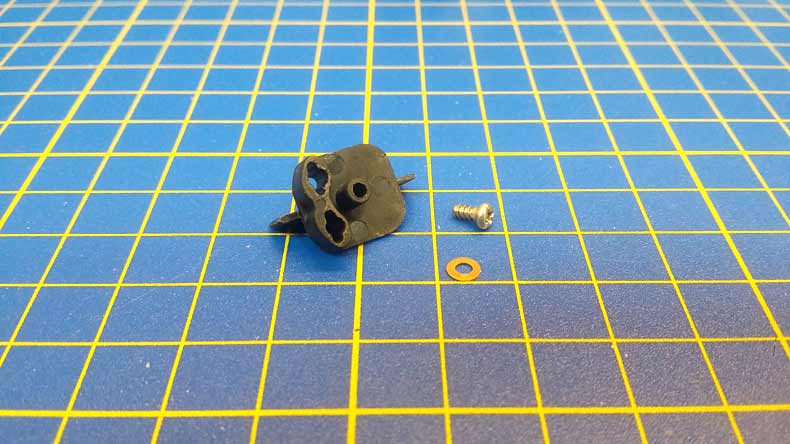
Once the guide is fitted to the chassis you can place the car on a setup block and using M2 grub screws you can setup the front axle height as the chassis has holes top and bottom to lift or drop the axle in the chassis.
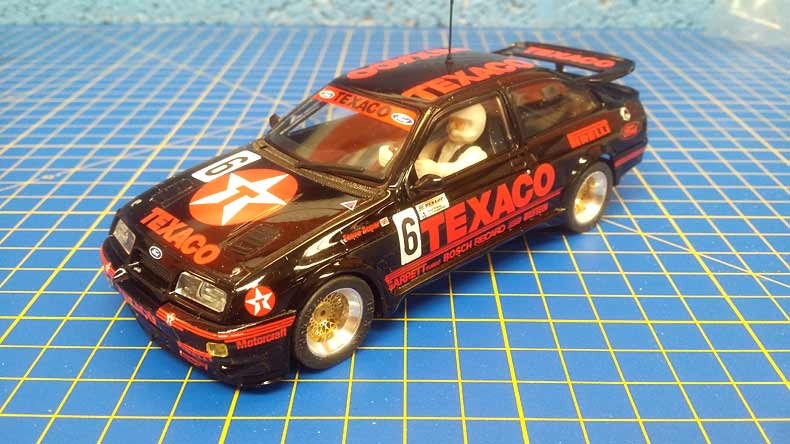
The car is now finished and ready to hit the track.

The standard chassis and PCR chassis.


